How to Correctly Install and Maintain Wooden Driveway Gates & Side Gates
Wooden driveway gates are a beautiful, functional addition to any property, but ensuring they last requires proper installation and regular maintenance. This guide walks you through the essential steps for installation and offers key tips to maintain the durability and aesthetic appeal of your wooden gates.


Why Do Gates Warp?
Moisture and Humidity
One of the primary reasons gates, especially wooden ones, warp is due to changes in moisture and humidity. Wood absorbs and loses moisture from the environment, causing it to expand and contract.
If one side of the gate is exposed to more moisture than the other, uneven swelling or shrinking occurs, leading to warping.
Temperature Fluctuations
Extreme temperature changes can cause materials to expand and contract. Metal gates, for example, can warp when exposed to direct sunlight followed by cooler temperatures at night. The differential expansion and contraction create stress within the material, resulting in warping.
Improper Installation
Gates that are not properly installed are more prone to warping. If a gate is not hung level or if the frame is not square, it can place undue stress on certain parts of the gate. Over time, this stress can cause the gate to twist or bend out of shape.
Inadequate Support
Without proper support, gates are susceptible to sagging and warping. Large or heavy gates need additional structural support to maintain their shape. Unsupported sections can warp due to their own weight or external forces like wind.
So how do I prevent my gate warping?
1. Pre-Installation: Dry Storage
Before installing wooden driveway gates, it’s crucial to store them correctly. Place the gates in a dry location for a minimum of 72 hours on a completely level surface. This time is to allow the timber to adjust to its environment, reducing the risk of warping or bending post-installation.
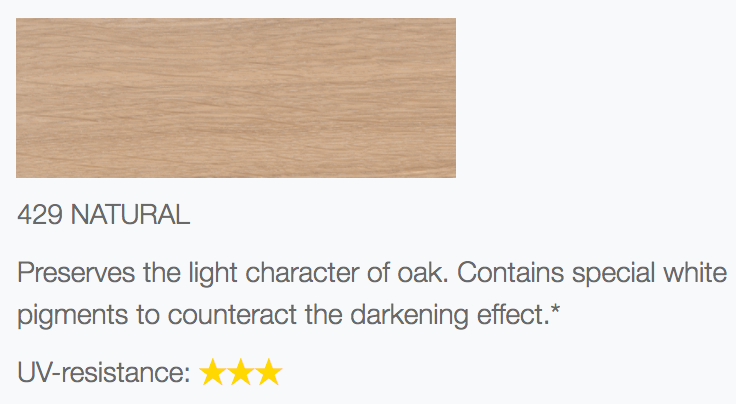
2. UV Protection for Longevity
Before installing or immediately after apply a UV-resistant stain or oil to the gates. This treatment acts as a barrier, protecting the wood from harmful UV rays and rapidly changing moisture levels. Many of these products require regular reapplication, see manufacturer's instructions.

3. Securing the Gate to Prevent Twisting
All gates must be secured at both the top and bottom to prevent twisting or warping over time. When installing single or double gates, it's crucial to use a drop bolt at the bottom of each gate leaf and a top fastening system to ensure stability. For double gates, use a drop bolt on each gate leaf and a throwover loop at the top to securely fasten both gate leaves together. This system ensures both gates stay aligned and prevents them from twisting or misaligning over time.
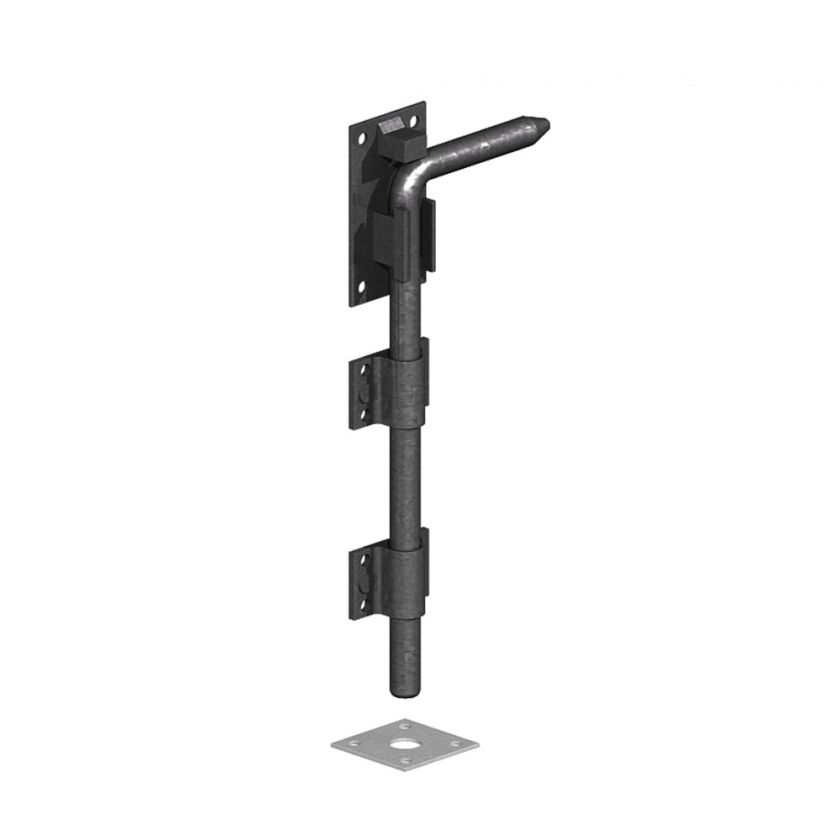
4. Drop Bolts for Double Gates
As mentioned, if you're installing double gates, it’s essential to use a drop bolt per gate leaf, paired with a top fastening system like a throwover loop. The drop bolts keep the gates stable and prevent movement at the base, while the throwover loop holds the gate leaves together at the top, preventing misalignment and ensuring smooth operation.
Drop Bolt & Throwover Loops


5. Even Treatment to Avoid Warping
When applying stain or oil, it’s critical to treat both sides of the gate evenly. Avoid applying the finish to one side and letting it dry before treating the other. Uneven drying creates surface tension that can lead to warping as the untreated side absorbs moisture. By applying the stain to both sides in succession, you maintain balance in the wood’s moisture absorption.
6. Proper Application Technique
Always apply any protective stain or oil in the direction of the wood grain. This method ensures that the treatment is absorbed evenly and enhances the natural beauty of the wood. Applying against the grain can lead to blotchy finishes and inconsistent protection.
7. End Grain Protection
The end grain of the wood is particularly vulnerable to moisture, which can cause it to absorb water quickly. This leads to swelling and potential damage. Pay special attention to coating the end grain thoroughly during the staining or oiling process to ensure it remains sealed and protected.
8. Don't Forget the Bottom Edge
One of the most commonly overlooked areas during treatment is the bottom edge of the gate. Leaving this area untreated allows moisture to be absorbed from the ground, which can result in swelling, rotting, and eventual breakdown of the gate. Modern wood treatments are designed to protect all surfaces while allowing the wood to breathe, so ensure the bottom edge is properly sealed.
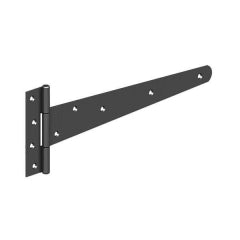
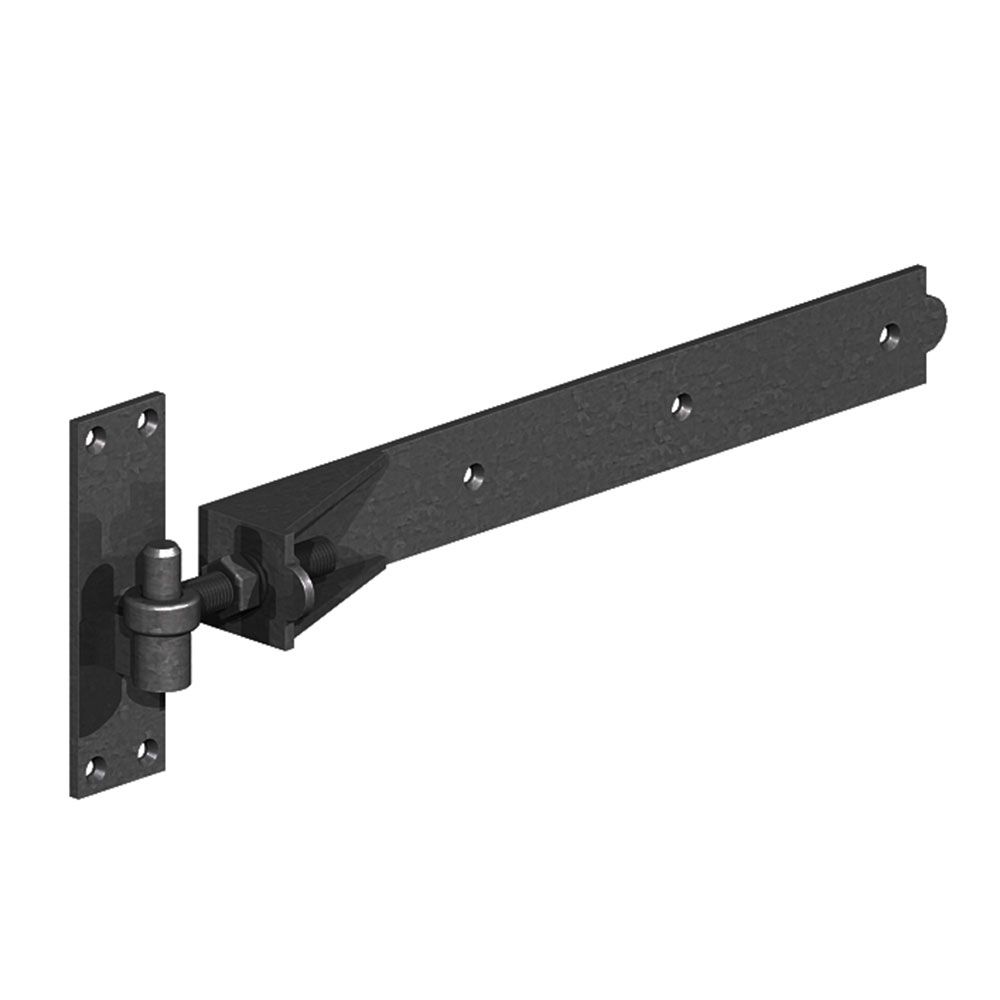
9. Hinge Specifications
Choosing the right hinges is just as important as any other part of the installation. Here are some guidelines:
- Tee Hinges should be at least half the width of the gate to provide adequate support.
Bands and Hooks should be one-third the width of the gate to ensure long-term stability and ease of movement.
Tee Hinges & Band and Hooks


10. Natural Cracks and Splits
It’s important to remember that cracks and splits in the wood are a natural part of its maturing process. As temperature and humidity levels fluctuate, the wood expands and contracts, which can cause these cracks and splits to develop. This is a normal reaction and should not be a cause for concern. However, maintaining a regular schedule of oiling and staining helps minimize the impact of these environmental changes, ensuring your gates remain strong and resilient over time.
